Electric go-karts aren’t uncommon, but I’ve personally never seen a go-kart with an electric motor on each wheel. If you read the last edition of this series, you’ll know my attempt at cheap kart suspension didn’t work. This time, I fix that. I also get this machine moving for the first time under its own power. Spoiler alert: It’s a monster.
I fixed the suspension by getting rid of it. Once again Oshcut, this project’s sponsor, came to the rescue. I modeled up some tubes in CAD which effectively kept the wheels in their original position but mounted them directly to the chassis. I uploaded the files to their site, selected the material, and ordered them. A few days later they were at my doorstep, ready to be installed on the kart. The biggest pain of the entire process was removing the old suspension. Who designed that junk anyway?
The fact that Oshcut offers lasered tubes now is a huge deal. They’re the only company that does it among the handful of businesses with instant-quoted laser-cut/CNC parts. I used laser-cut tubes on the Motocompacto project, and now this one. It will not be the last time you see them. They’re truly a game-changer.
Anyway, my parts were exactly as I specified in CAD, so I installed them with ease. The next thing for me to do was assemble the new front steering system. As you saw last time, my old steering was too weak. This time I doubled the thickness of the tie rods and added some beef to the actual uprights and their mounting positions as well. It seems very strong now, probably more rigid than it needs to be. These bent sheet metal parts are also from Oshcut. Some of them even have threads on them, which you can specify during the upload process on their site.
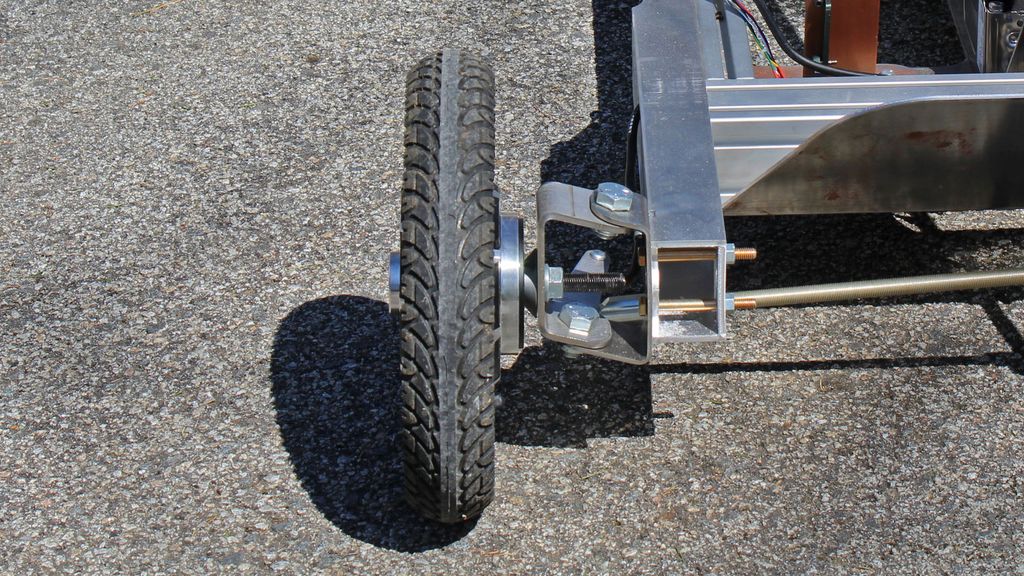
The new steering is extra strong, and it needs to be considering how heavy the hub motors are.
Finally, I bolted the motors up. The rears went on without much fuss. The fronts were different. I wanted to use a 2-by-3-inch aluminum tube for the rear of this kart because the stub axles off the hub motors would be well supported. It’s also cheaper on Oshcut to get four of the same part, so I used identical tubes on the front. Because of the extra width of the steering system, the front axle is wider than the rear axle. I could accommodate for this with another set of tubes on the back but I just don’t think it’s worth the hassle. This thing is already big enough.
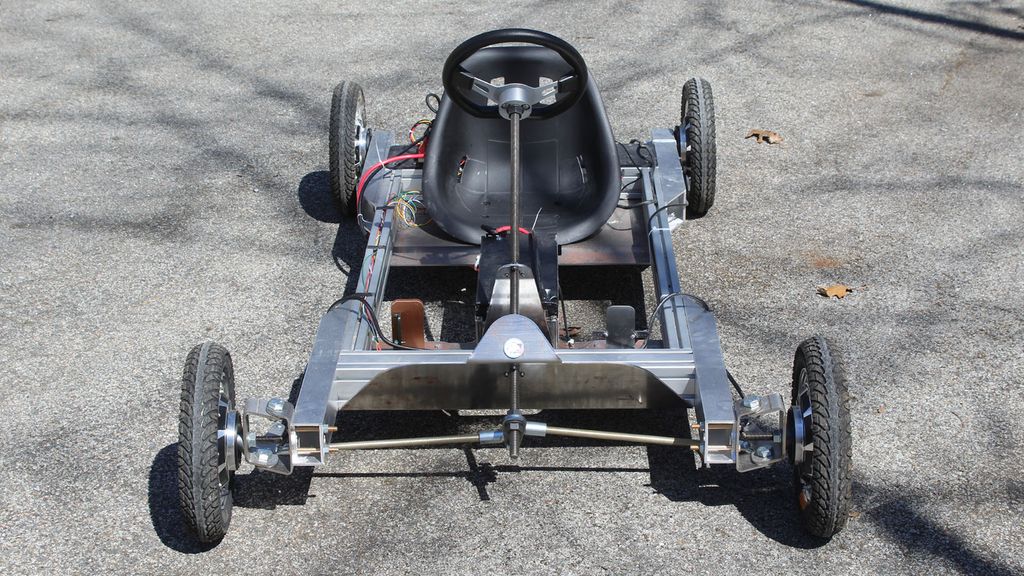
Is the front stagger silly? Yes. Am I going to fix it? No.
Now it’s time to discuss the electric drivetrain, which is the cool part.
All power electronics have ratings. They can take X amount of power continuously for the rest of time, or Y amount of power for a shorter time. Y is known as the burst rating. It’s a high level of output that cannot be sustained forever but will make you smile. Battery and inverter manufacturers will often state a burst rating, but motor manufacturers will not, for whatever reason.
My hub motors are each rated for 2.5 kilowatts of continuous output. That’s 3.35 horsepower; 52 amps at 48 volts. The voltage will not change considerably as I run the kart, going down a little when I ask for a lot of power–a phenomenon known as voltage sag–and gradually as the pack discharges. Adjusting the current is where the magic happens.
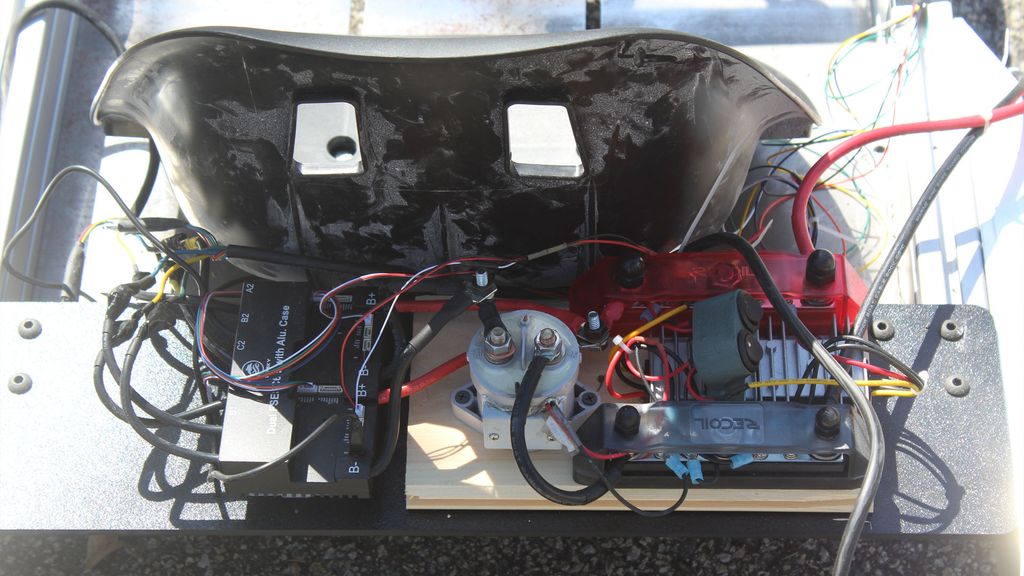
My wiring cleanliness leaves something to be desired, but there’s really not much going on here.
In my experience, hub motors can take about twice their rated current for a short run. Do the math and with four motors that means a potential peak of 20 kW, or 26.8 hp. That’s about as much as a Citroen 2CV.
You run into problems when you desire this much power, though. Even my 2-kilowatt-hour module swiped from an Audi Q5 PHEV cannot provide the 400 amps of current necessary to reach the peak output of this quad motor setup. In fact, it probably can’t even provide the 200 amps necessary to get the peak power out of a rear-wheel-drive setup, which is how I have the kart configured now.
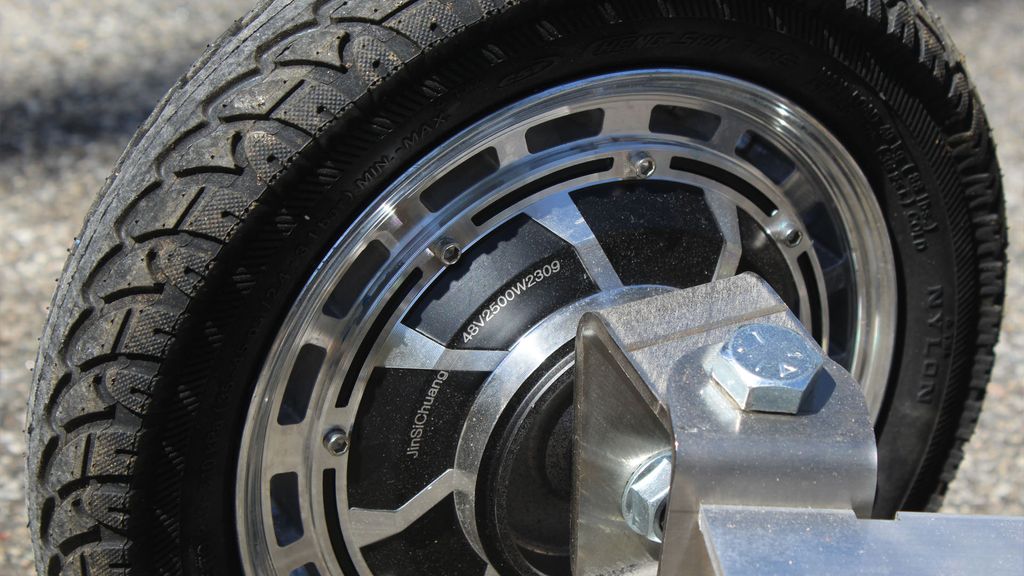
The rear motors claim to be less powerful than the fronts, but under a little testing, it turns out they are exactly the same.
Even without all of the power possible, this thing is fast, though. I’m currently limited to doing short pulls in my driveway, but I can already tell, not only how much torque it has, but also how fast it wants to go. Each motor is only set to 60A and it’s already quick. I really need to find somewhere to stretch this thing’s legs. I can tell the kingpin angle cooked into the steering gives it some semblance of feel, sort of like a car. The entire thing just feels complex, powerful, and massive.
Indeed, it weighs 177 pounds according to my heavy-duty postal scale. Each motor weighs 12.5 pounds for a total of 50 pounds. The battery weighs roughly 30 pounds, which means more than half of the kart’s weight is just drivetrain. The chassis could definitely be lighter—I had to use T-slot extrusions for the main rails because I designed it before Oshcut offered tube cutting. But once there’s a driver on this thing, it wouldn’t save a huge percentage.
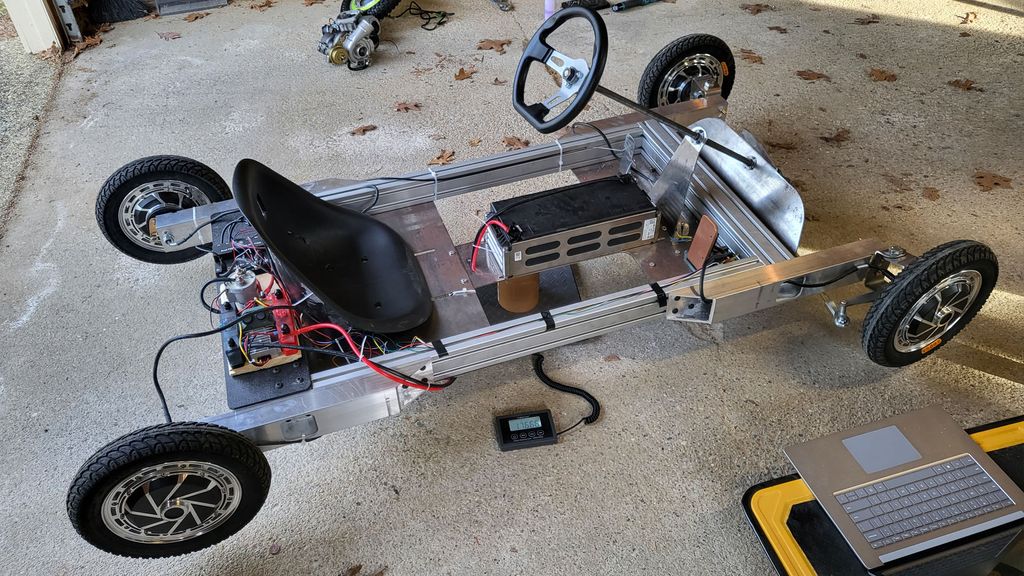
I’m not happy about the weight, but I’m also not really upset about it, either.
Despite this excessive weight, the entire driving experience is still nothing short of thrilling. For the first time I’ve created a vehicle that’s similar in weight to me, and it’s tough to wrap my head around the physics of something like that. The complexity of everything going on is tantalizing. This is not a car, not even close, but even without suspension, I get car-like cues from it. It’s very satisfying.
All of this is a big reason why I don’t want to add more battery to solve my lack of power. I like the current state of the thing’s dynamics and I don’t want additional weight. I’m instead going to change chemistries. That will be the topic of the next edition of this series: Unlocking all of the power of the RWD configuration. Then, once I can put together the AWD battery, we’ll really be entering the danger zone.
Read the full article here


